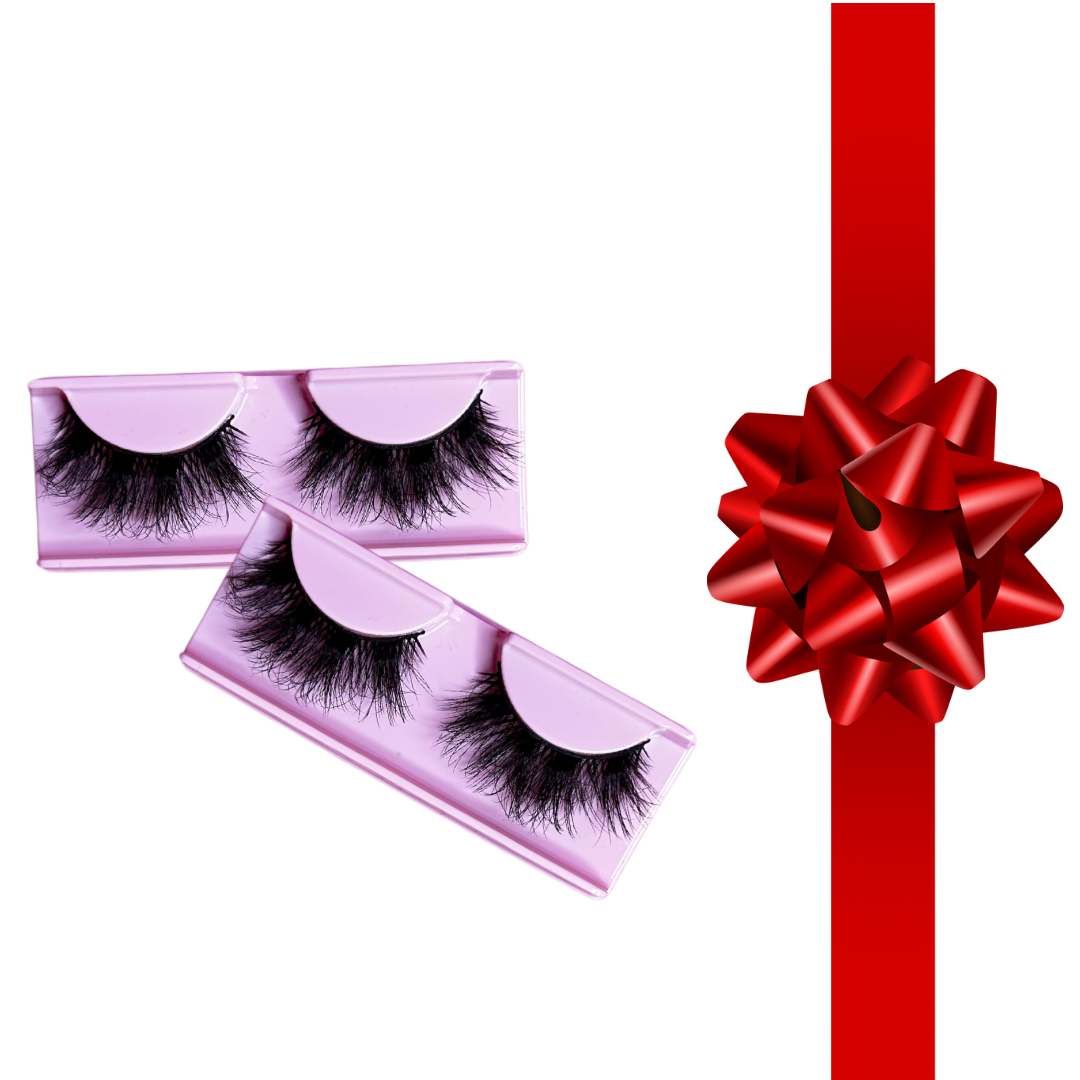
Merry Christmas!!! Our FREE Christmas gift to youđ
Get you Free lashes by signing up and subscribing to our email listing! (If youâre already registered under our email listing please contact us)
Â
Sign up and Subscribe to our email listing at the bottom of our page (we will email you your discount code)
Collapsible content
DETAILS
Material: 100% Mink Lashes
Length: 25mm
Durability: last up to 25+ wears (with proper care)
Band:Black Cotton Band
Color: Black/ Option of secondary color
Delivery Time: Please allow 1-3 business days
Customize Color Lash Delivery Time: Please allow 3-5 business days for all color lashes, color lashes are made to order. Thank you!
HOW TO ORDER COLOR LASHES
HOW TO ORDER COLOR LASHESÂ
Step 1.Select a color in the dropdown box in the âchoose colorâ option
Step 2.Than select the style of the placement of color in the dropdown box in the âhighlights styleâ option (selecting each highlight style will show you an example of the placement of where the color will be)
Step 3.Enjoy your color lashes!
HOW TO APPLY LASHES
Step 1- Trim your lashes to fit your eye size. Start at the outer corner and trim in small sections--you can always remove more, but can't add back.
Step 2- Apply a thin layer of lash glue to the lash band and wait 15-30 seconds until glue becomes tacky. This ensures your lashes adhere to your lash line without sliding around.
Step 3-Look down into a mirror when applying your lashes this will help you get the strip super close to your lash line.
Step 4-When taking of your lashes , gently remove lashes & wipe any remaining glue off the lash band with a cotton swab and makeup remover. proper removal and care will ensure lashes can be re-worn multiple times.
HOW TO CLEAN LASHES
WASH YOUR HANDS
Before you pick up a set of false eyelashes, itâs a MUST that you wash your hands. you donât want any dirt, oil, or impurities to transfer to your falsies.
REMOVE EYELASH GLUE OR ADHESIVE
Next, youâll want to ensure that you remove any glue from the base of your eyelashes. The easiest way to remove glue is to use a salon-quality set of tweezers. Gently remove the adhesive without pulling at your falsies. If thereâs stubborn glue that wonât come off, you can use an oil-based eye makeup remover to break it down, just like you would get the lashes off your eyes.
CLEAN YOUR FALSE EYELASHES
Once the eyelash glue is removed, itâs time to really clean your falsies. This step will remove any makeup that ended up your false lashes (essential if you applied mascara on top of them) as well as other impurities.
Place your false eyelashes on a paper towel, then saturate a cotton Swab with warm water. Gently wipe the base of your lashes and the false lash âhairsâ to lift and remove leftover mascara, dirt, and excess oils for a thorough cleansing.
Side Note: If you have mink eyelashes, you should skip this step. Eye makeup remover can potentially ruin the look of your lashes, and thatâs the last thing you need. Instead, youâll want to learn how to clean fake eyelashes with water. Use a cotton swab dipped in water to wipe the lashes clean, but donât submerge them in H2Oâit can damage the lashes.
DAMPEN YOUR EYELASHES
Think of this step as an extra precaution to ensure that your lashes are fully clean. Get a small bowl of warm water and dampen another cotton swab, using it to wipe from the base of your lashes to the ends. Once youâre satisfied, leave your lashes on the paper towel to air dry.
STORE YOUR LASHES
Congratulations, youâve made it to the finish line! Since your cleansing session went off without a hitch, itâs time to store your lashes properly. Simply place your false eyelashes back in the packaging they came in, and keep them in their original position to help maintain their shape. Once youâre ready to reuse the lashes, the application process will be a breeze.